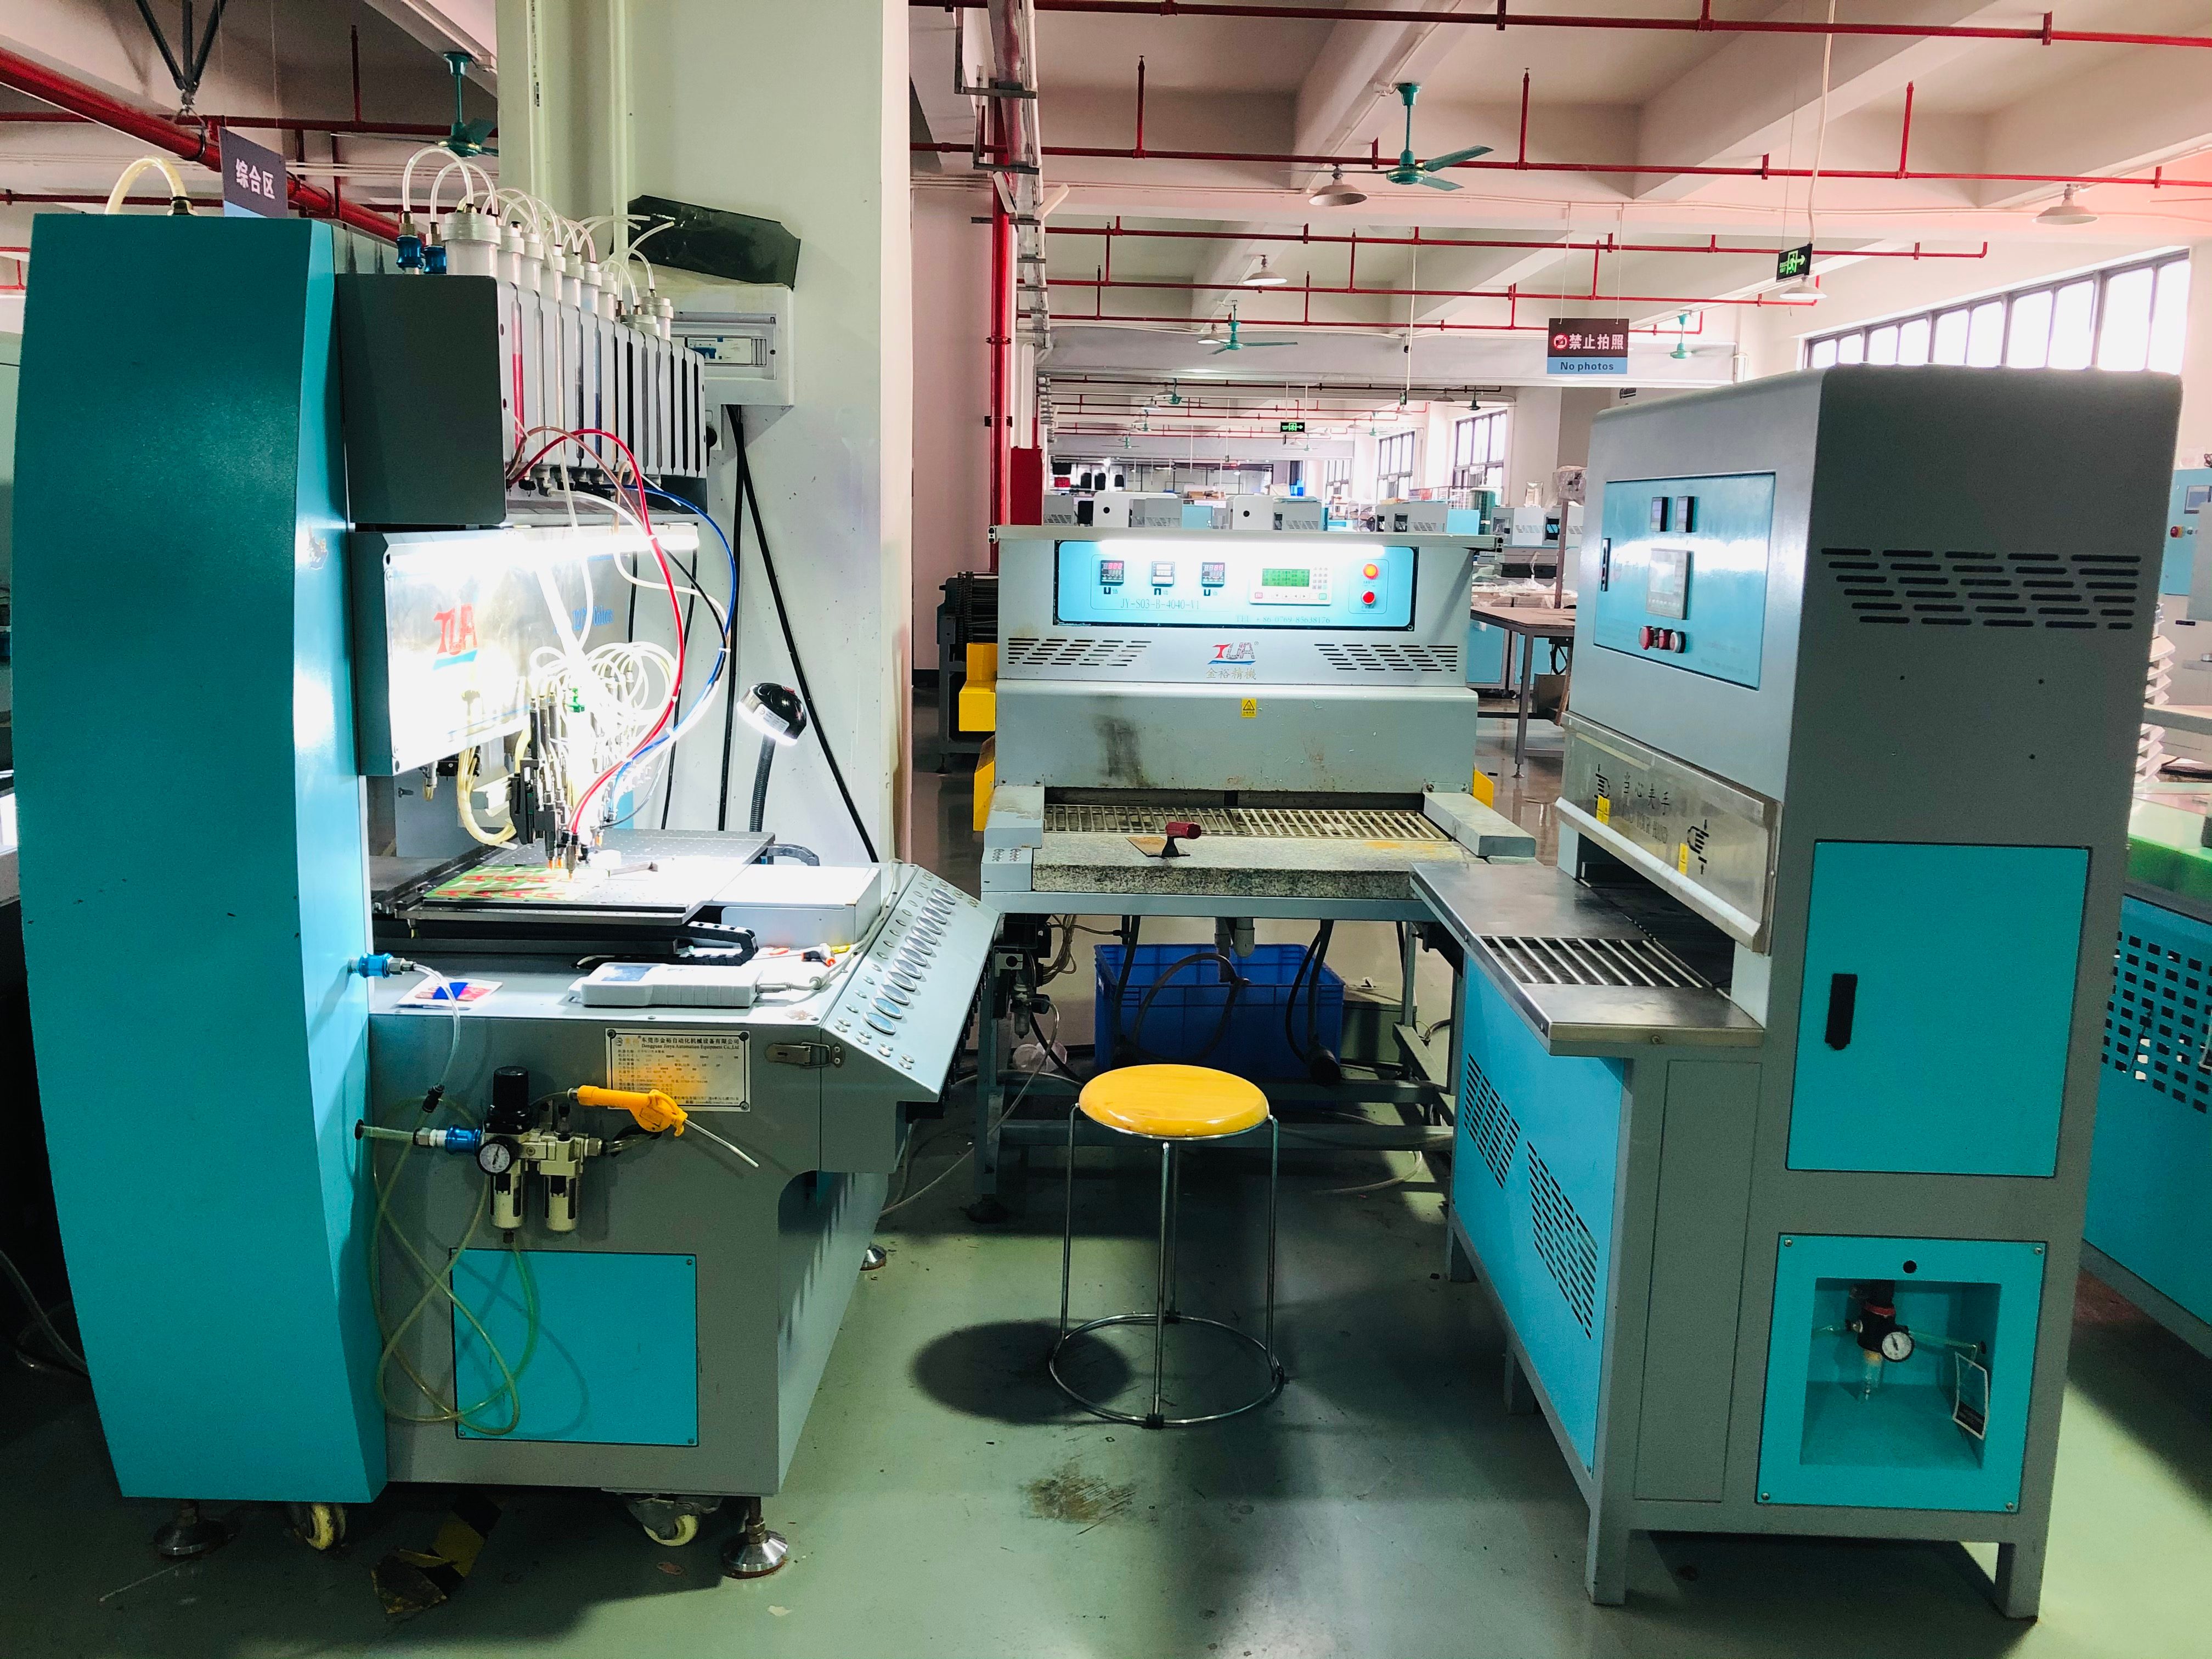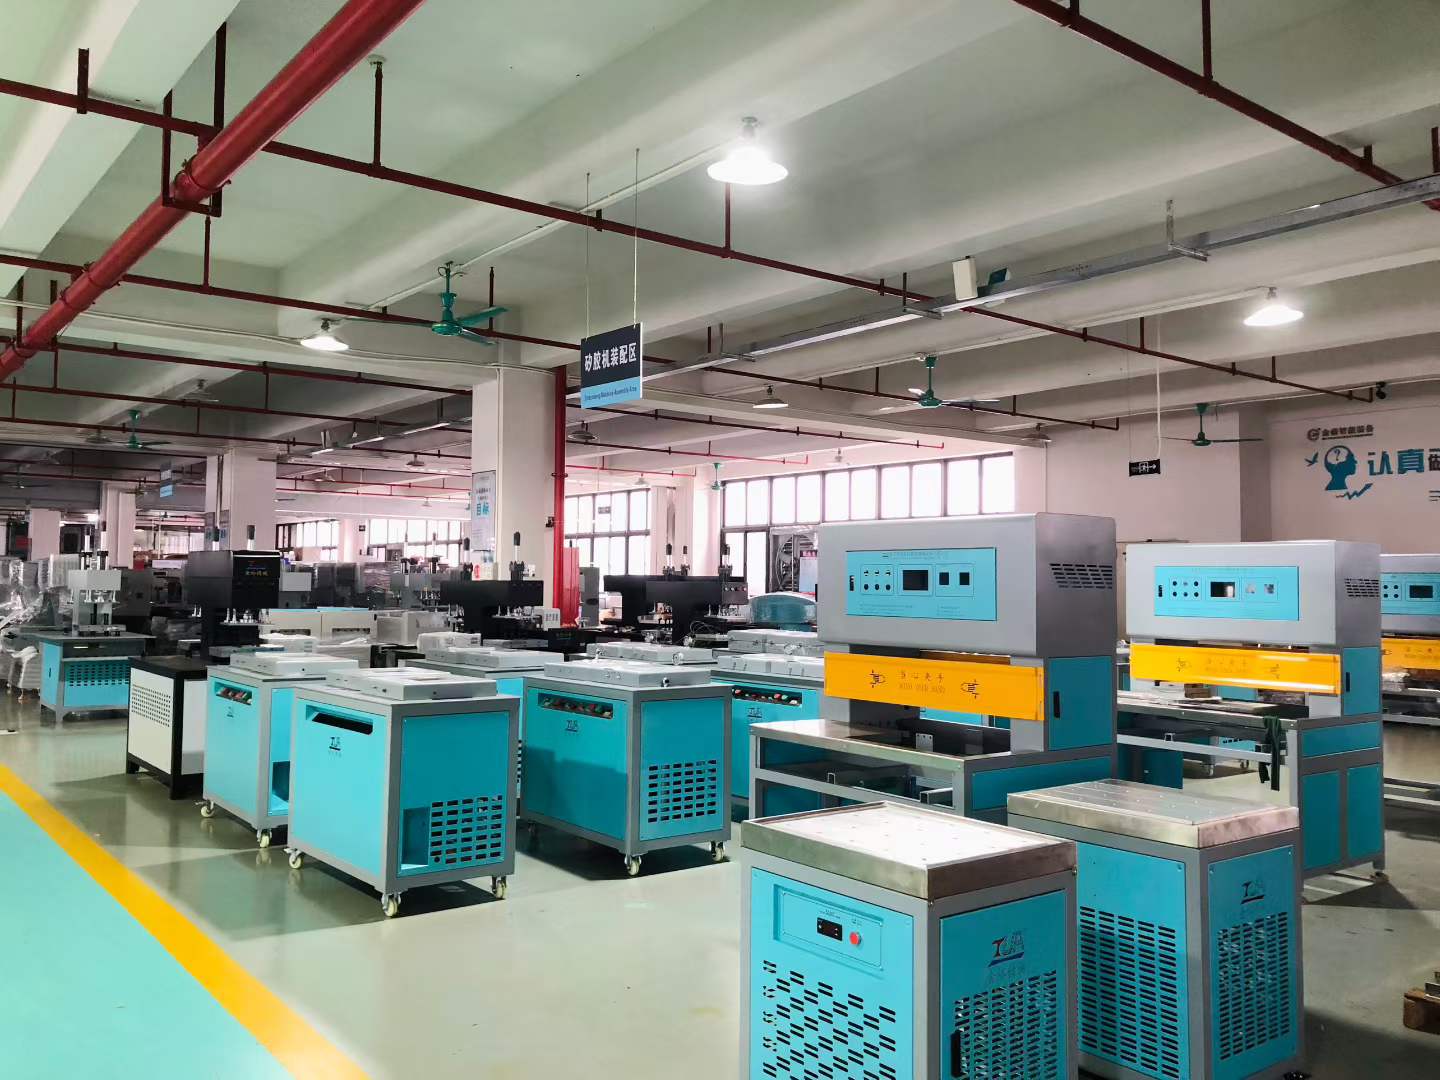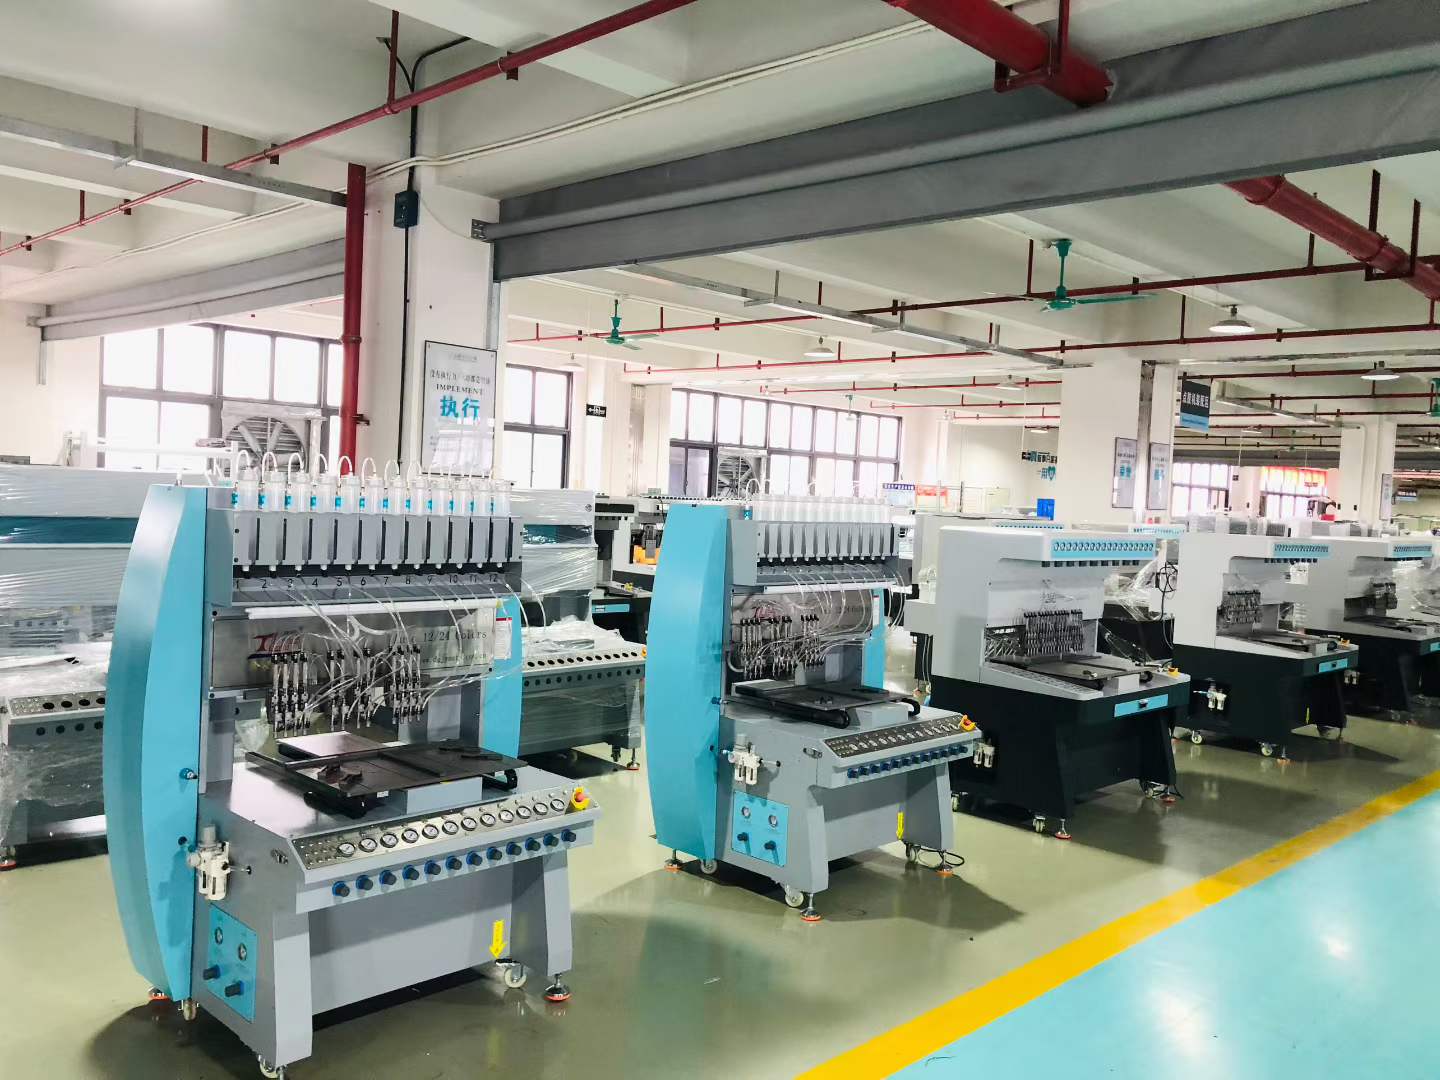
Manufacturing soft PVC 3D doll keychains (fully 3D figurines) relies on a series of precise multi-color micro-injection or micro-dispensing processes to inject material into custom brass/aluminum molds, followed by multi-stage thermosetting. PVC machines
Unlike planar 2D or 2.5D keychains using open single-sided molds, fully 3D doll keychains typically require a two-piece (front and back) flip-top mold system or a hollow micro-injection process to form a complete circle.

soft PVC 3D doll keychains (fully 3D figurines) Production Process Steps: (Automatic Dispensing Machine, Pvc Keychain Machine,Pvc Patch Making Machine,PVC Usb Case Machine,PVC Labels Making Machine, Intelligent Pvc Oven,Intelligent Pvc Baking Machine, PVC Machine,Pvc Vacuum Machine, Vacuum Machine )
1. Mold Design and CNC Engraving: Preparation Stage. The 3D CAD model is converted into precision CNC toolpaths. Copper (brass) or aluminum molds are engraved. For fully 3D figurines, separate front and back cavities (or split 3D molds) with locating pins and venting channels are required.
2. Liquid PVC Slurry Preparation: Material Preparation. Liquid PVC slurry (plastic sol) is mixed with plasticizers, environmentally friendly stabilizers, and pigments. The liquid is passed through a vacuum degassing chamber to remove air bubbles and prevent pinholes or defects during baking.
3. Multi-color Dispensing (Micro-injection): First Layer - Fine Details. Using an automated multi-nozzle dispensing machine, fine accent colors (eyes, facial features, clothing details, etc.) are precisely injected into the deepest recesses of the mold cavity.
4. Baking and Curing (Pre-gel): Heating at 160°C – 280°C. The mold is heated via heating wires (or an oven) to gel the initial detail layer, preventing color seepage into the next layer. The mold is then rapidly cooled on a water-cooled platform in preparation for the next injection molding.
5. Substrate Filling and Mold Assembly: Second Layer - Body. The body color (or transparent core) is injected to fill the remaining cavity volume. For 3D figures, the front and rear molds fit tightly together, often integrating metal rings or hook-like fasteners for attaching keychains.
6. Final 3D Figure: Two halves of the mold are hot-pressed, cold-pressed, and cured on both sides: completely fused. The assembled two halves of the mold undergo final pressurization and heating, fusing the liquid plastisol into a strong, elastic, rubbery PVC figure.
7. Demolding: Remove the parting line from the finished product line. Open the mold and remove the soft PVC figure. Remove excess burrs (overflowing resin) and attach key rings, open loops, or metal chains.